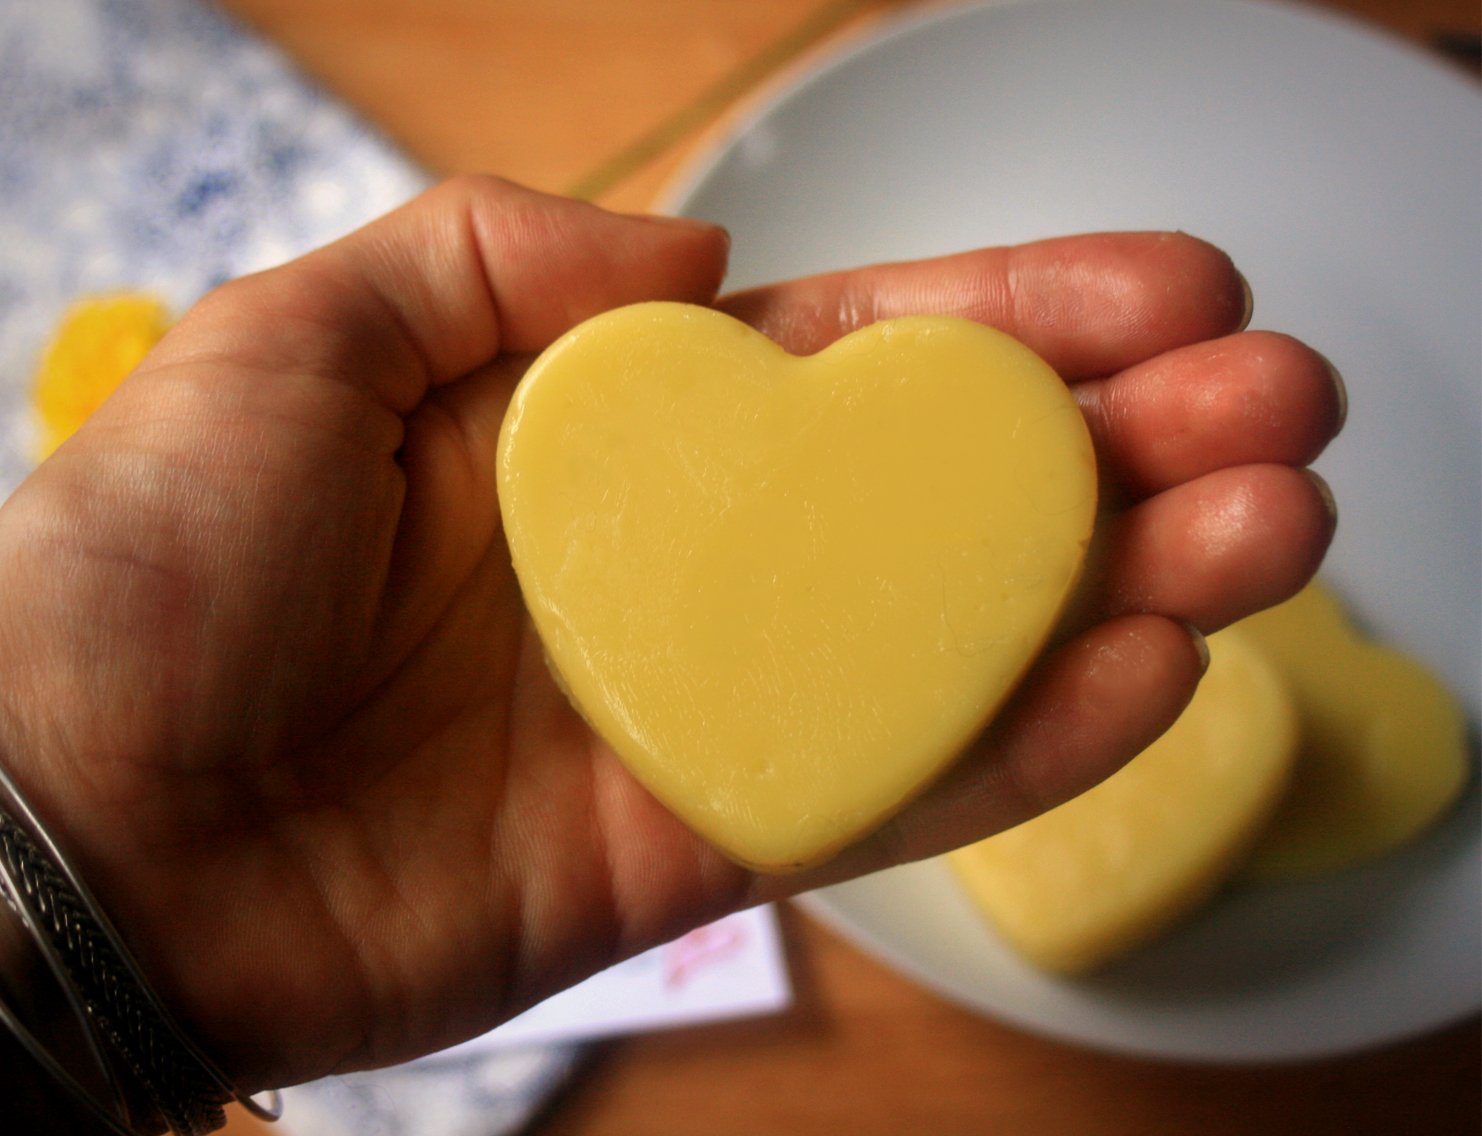
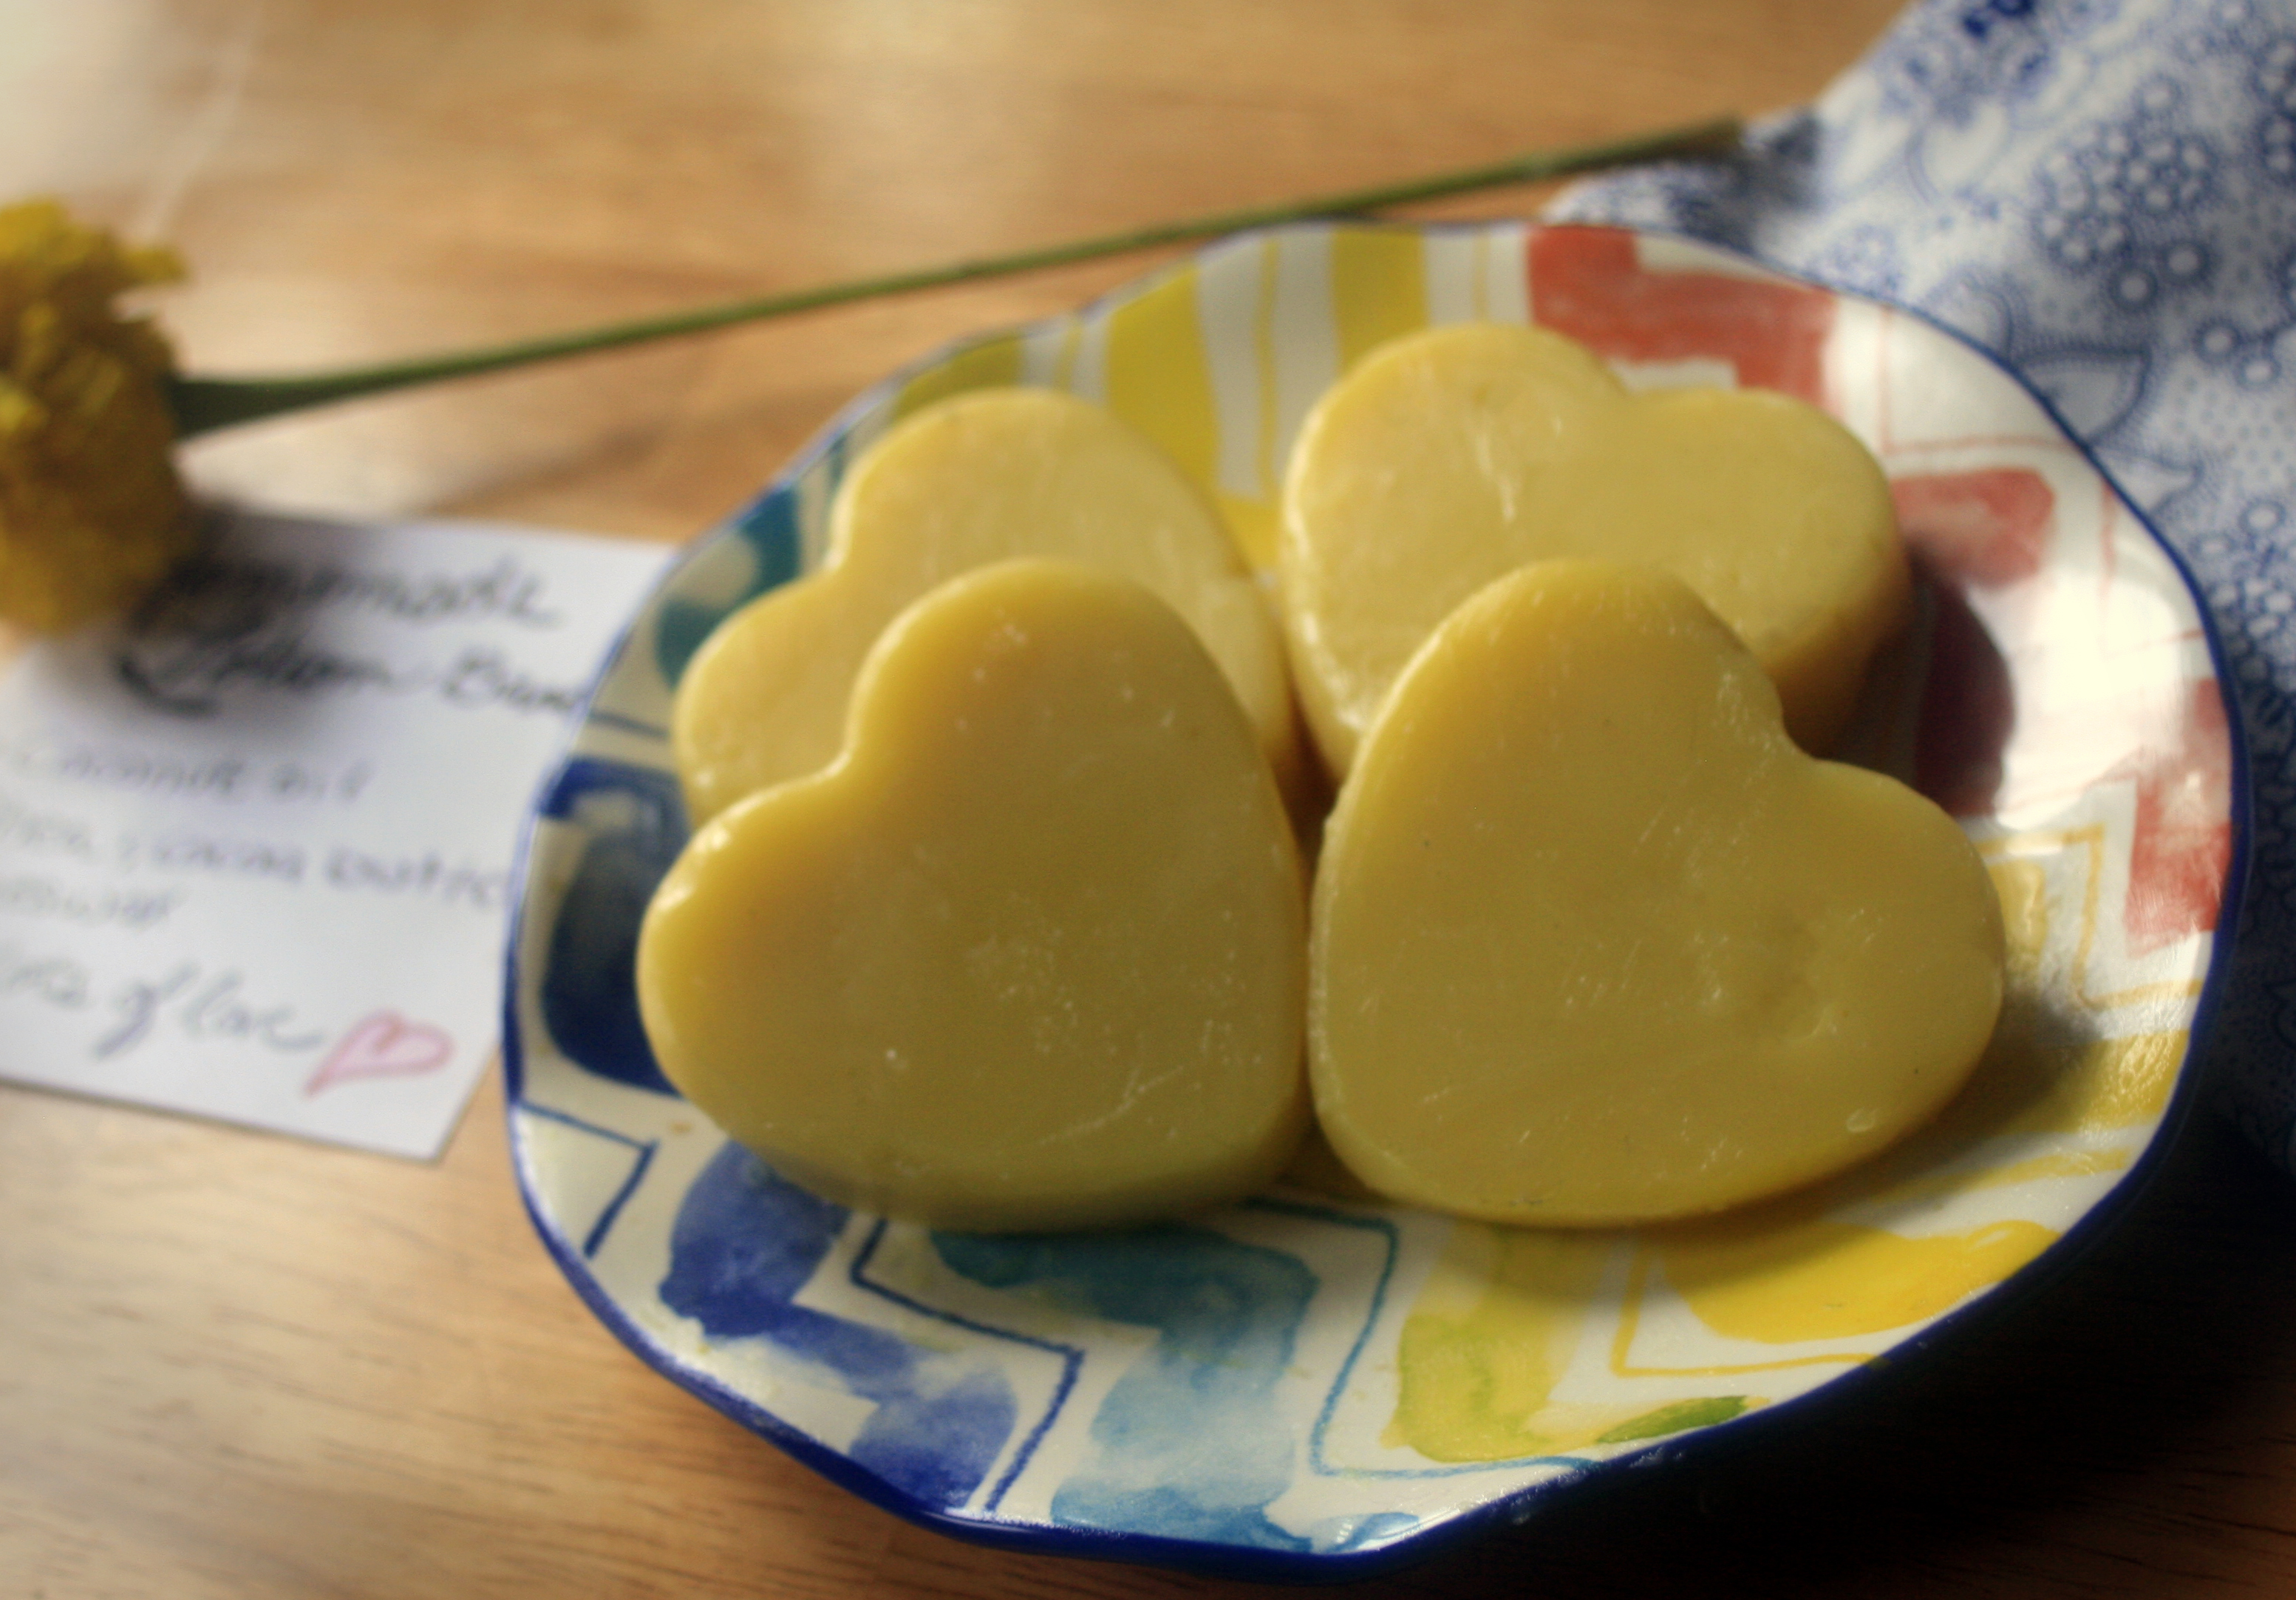
It's no secret that I love making lotions. From whipped coconut oil and magnesium body butter, to nourishing tallow balm- it's just that easy to look like an impressive craft-master when you have simple and effective DIY lotion recipes at hand. Yet while I could mix up inspiring new skin-soothing concoctions for hours, schlepping around a big glass jar is at times far from desirable. On such occasions, homemade lotion bars offer the ideal balance, combining the replenishing powers of homemade moisturizers in a handy bar. Plus, you can also mold them into fun shapes and blend with healing essential oils that make you smile. Why it's almost too good to be true...
Skin moisturizers can be amazingly calmative and luxurious feeling- truly, who doesn't love the comforting sensation of rubbing a healing balm onto tired, chapped skin? Yet while storebought lotions are lovely- available in a garden of different scents and a diverse collection of fun squeezie bottles or pumps- the ingredients are unpredictable, and most of them actually create more skin damage in the long run. Harsh soaps and highly processed lotions not only interfere with the natural oils and lipids on the skin, but they often disrupt the natural microbiota that keep it healthy and in balance (1). What's more, many lotions contain unregulated ingredients. Contrary to the popular belief that all cosmetics sold in stores have been tested and are safe for use, companies can actually use any ingredient or raw material, except for color additives and a small list of prohibited substances, even without government review or approval(FDA 2005, FDA 2000). This having been said,even the most wholesome appearing lotion can have scores of hidden chemicals that are not listed on the ingredients labels. Terms like "gentle," "dermatologist-tested" and "natural" are not regulated, and could very well just be marketing hype. If a product has a fragrance this could mean hundreds of different chemicals alone, none of which are required to be on the label. On average, the American woman uses 12 products per day with a grand total of 168 different chemicals in them, so why add more to the mix with a lotion? (2)
This is certainly not to say that all skin care products are evil or that you should never shower or moisturize again. There are certainly genuine companies out there that make quite brilliant skin care products using whole food ingredients. If you are up for a little splurge, I recommend treating yourself to a high quality product every once in a while. We like Rosemira Organics, Vintage Traditions and Blue Ice for their clean recipes and mindfully crafted products. However, many homemade recipes are also gratifying and are far less expensive for everyday use.
Homemade Lotion Bars
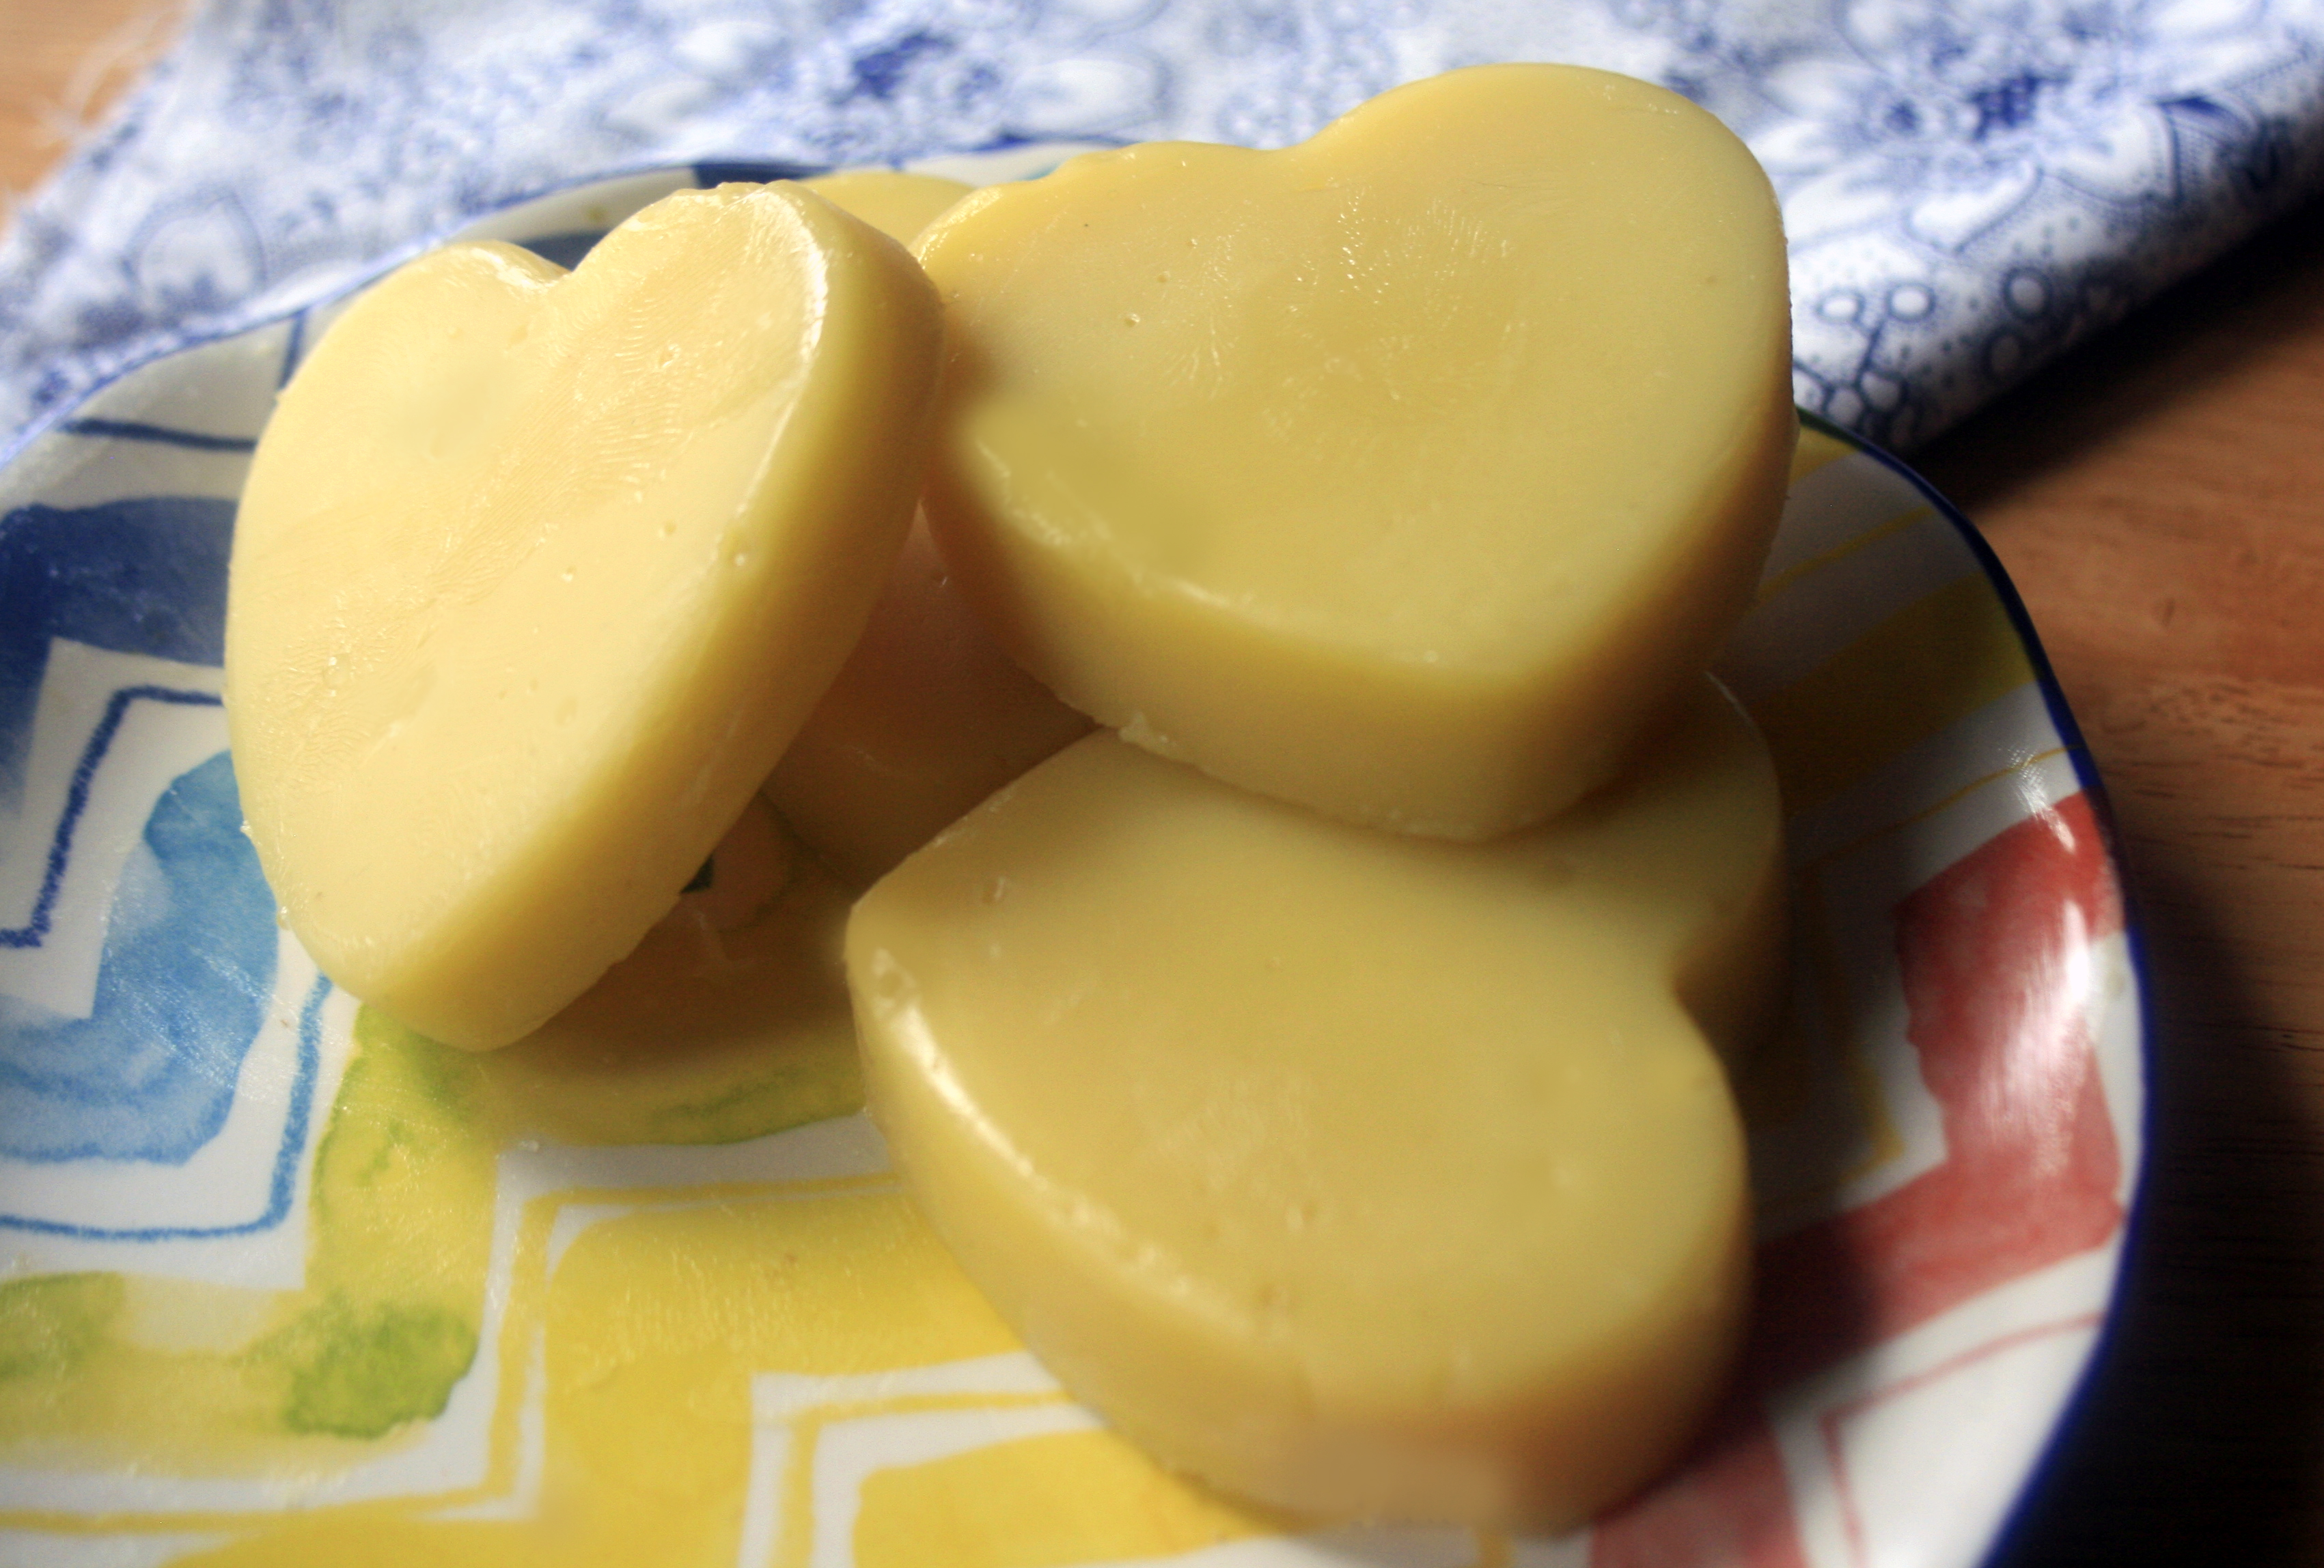
There are many different ways to make homemade lotion bars, with one quick search in google churning up thousands of listed results. You've probably seen a fair share of pictures of these cutsie little molds if you frequent real food blogs or ever find yourself in an endless clicking frenzy on pinterest. However, if you are anything like me, you may have navigated right by them before, thinking they were projects only for the nimble-fingered, reserved for those who are enviously creative and crafty by nature. Luckily, this isn't the case, and these homemade bars are actually quite simple, and even fun to do with kiddos. So I wrote this post, not to add to that lengthy list in google, but in hopes that maybe this will be the one that actually inspires you to give the project a try! I'm pretty sure you will be glad that you did.
By Kayla - Radiant Life
Ingredients
1/2 cup Cold-Pressed Coconut Oil
1/2 cup Shea, Mango or Cocoa Butter (or a mix thereof)
2/3 cup Beeswax (shaved or in pastilles- tightly packed)
20-40 drops Essential Oils (optional)
1 tsp Vitamin E Oil (optional)
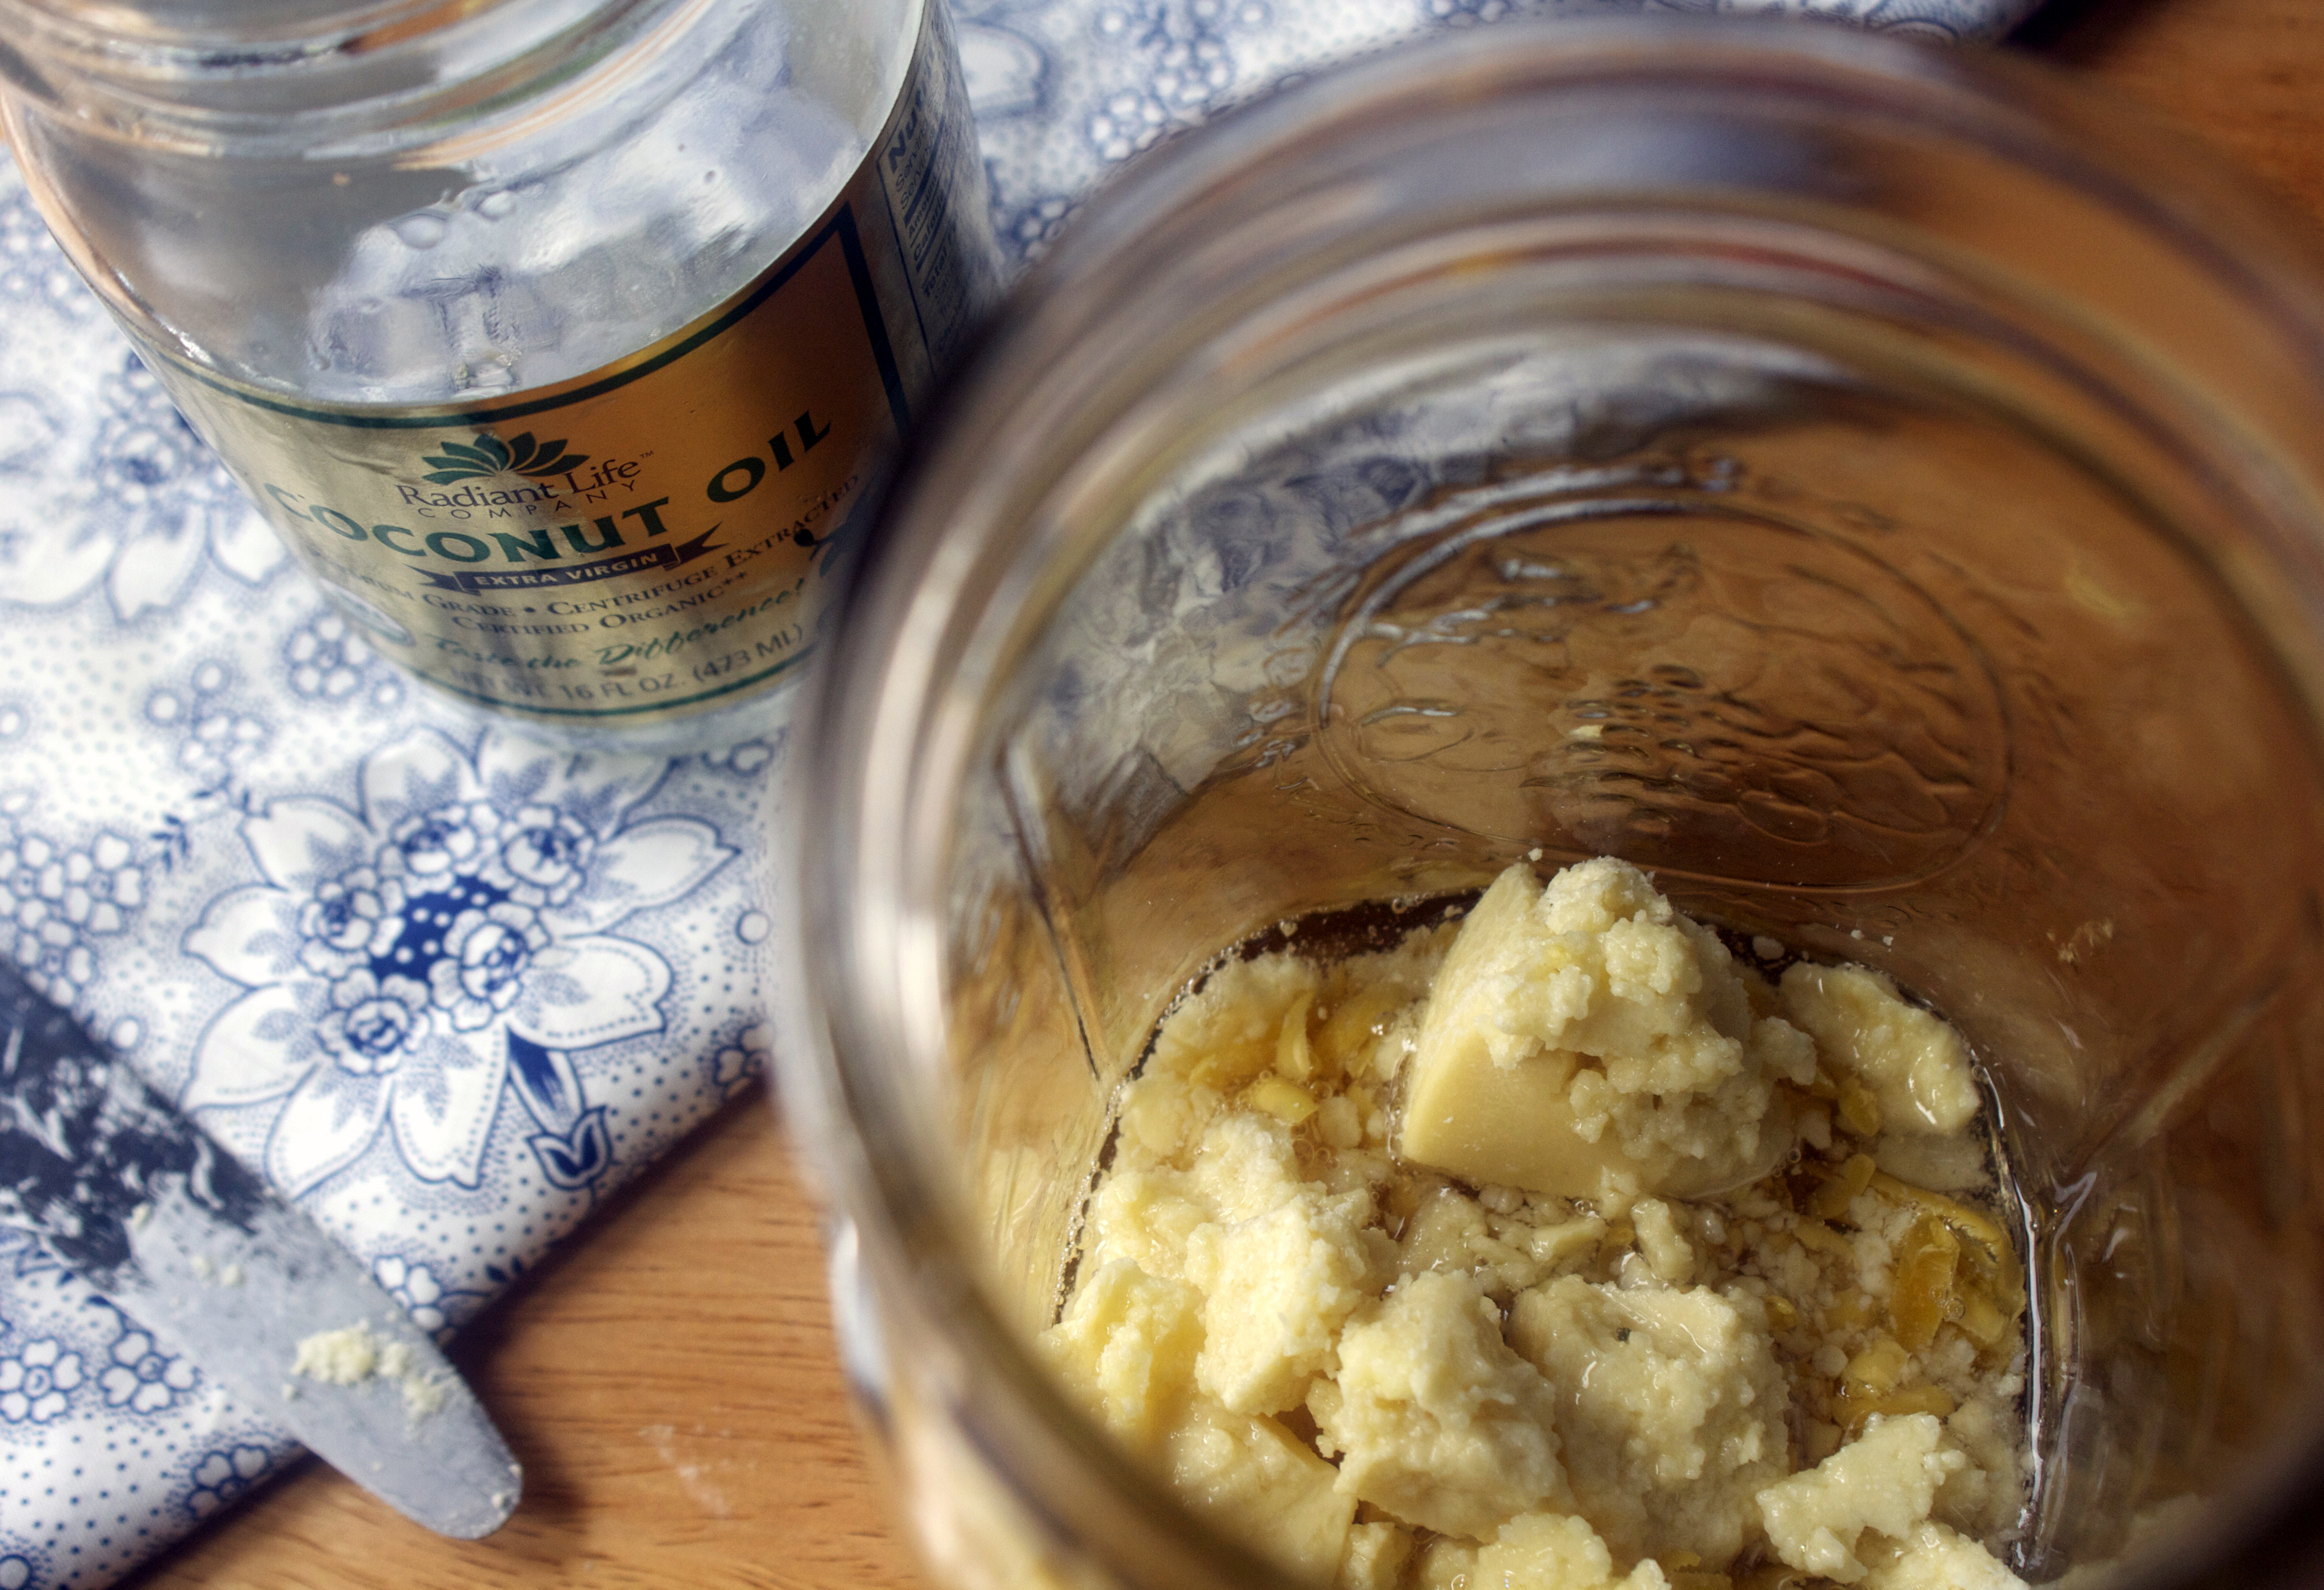
Add coconut oil, butters, and beeswax into a double boiler and heat on medium-low heat. If you do not have a double boiler, alternatively place all ingredients in a quart size jar, cover and submerge in about 2-3 inches of simmering water.
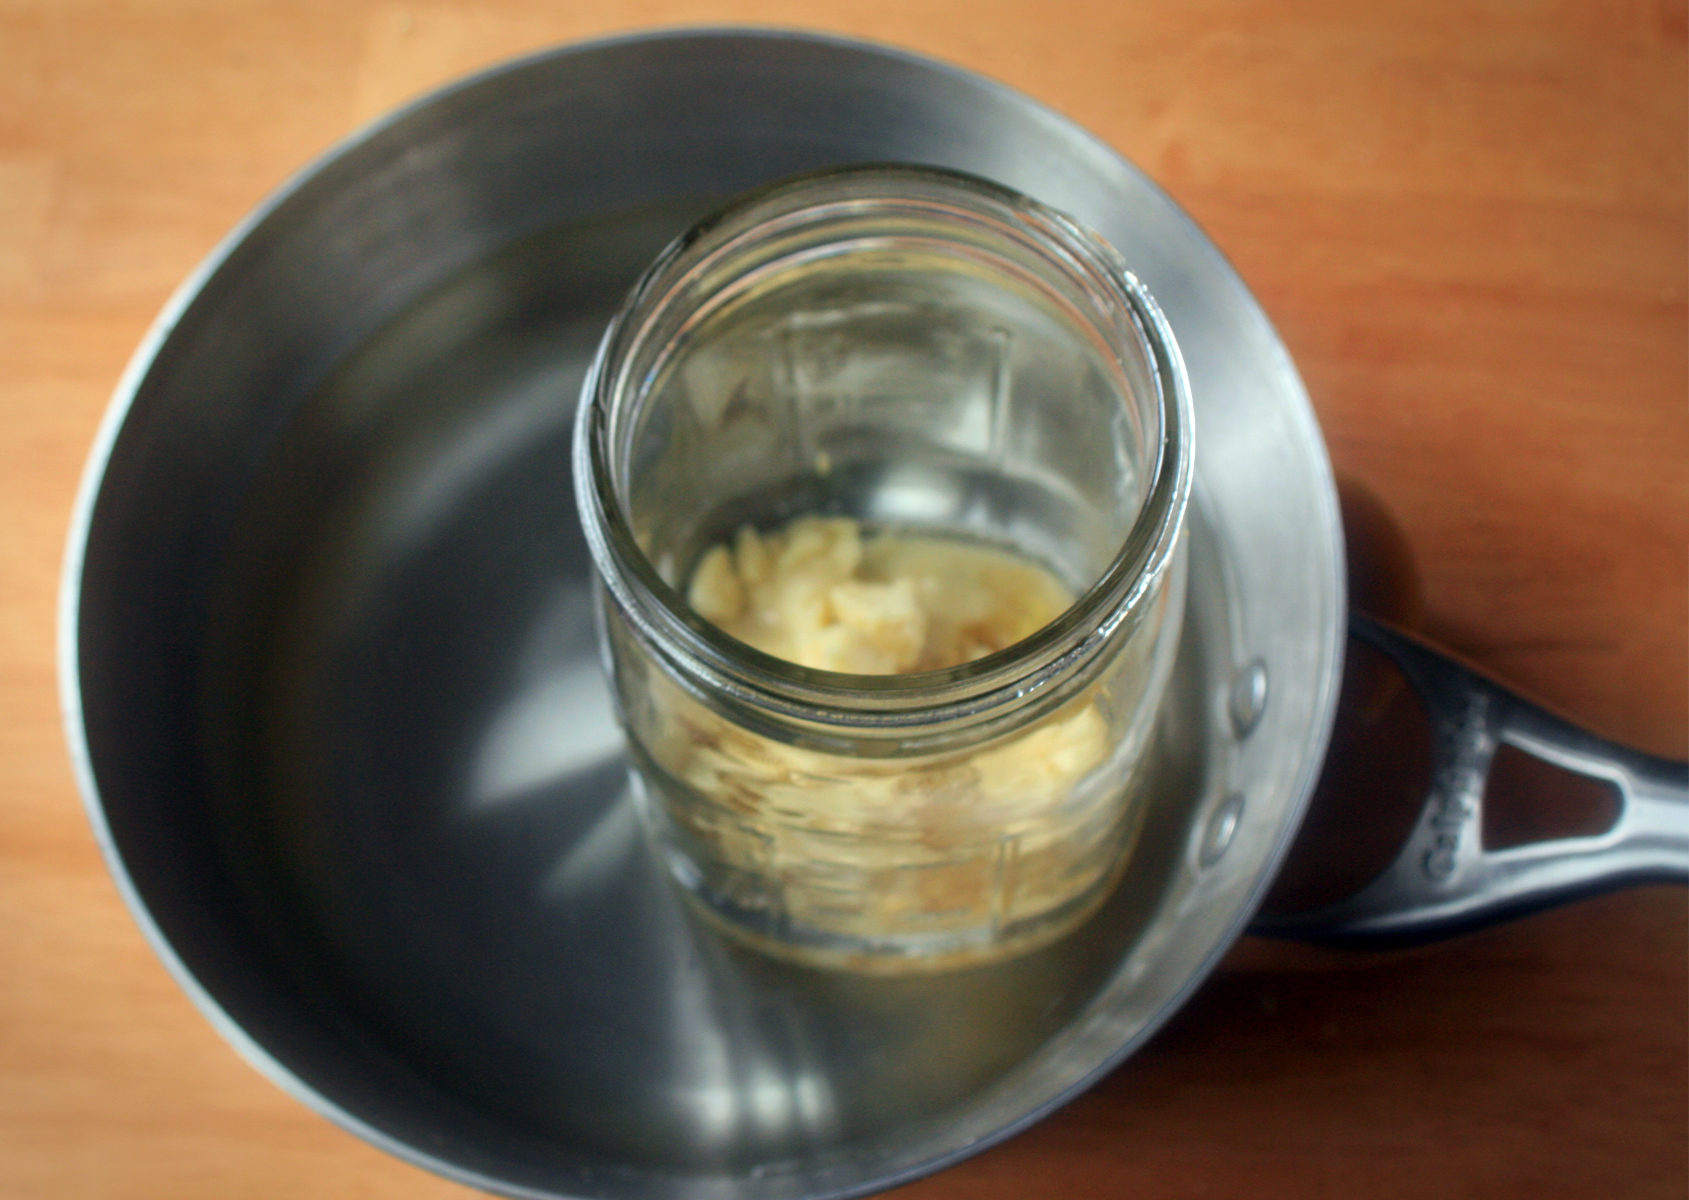
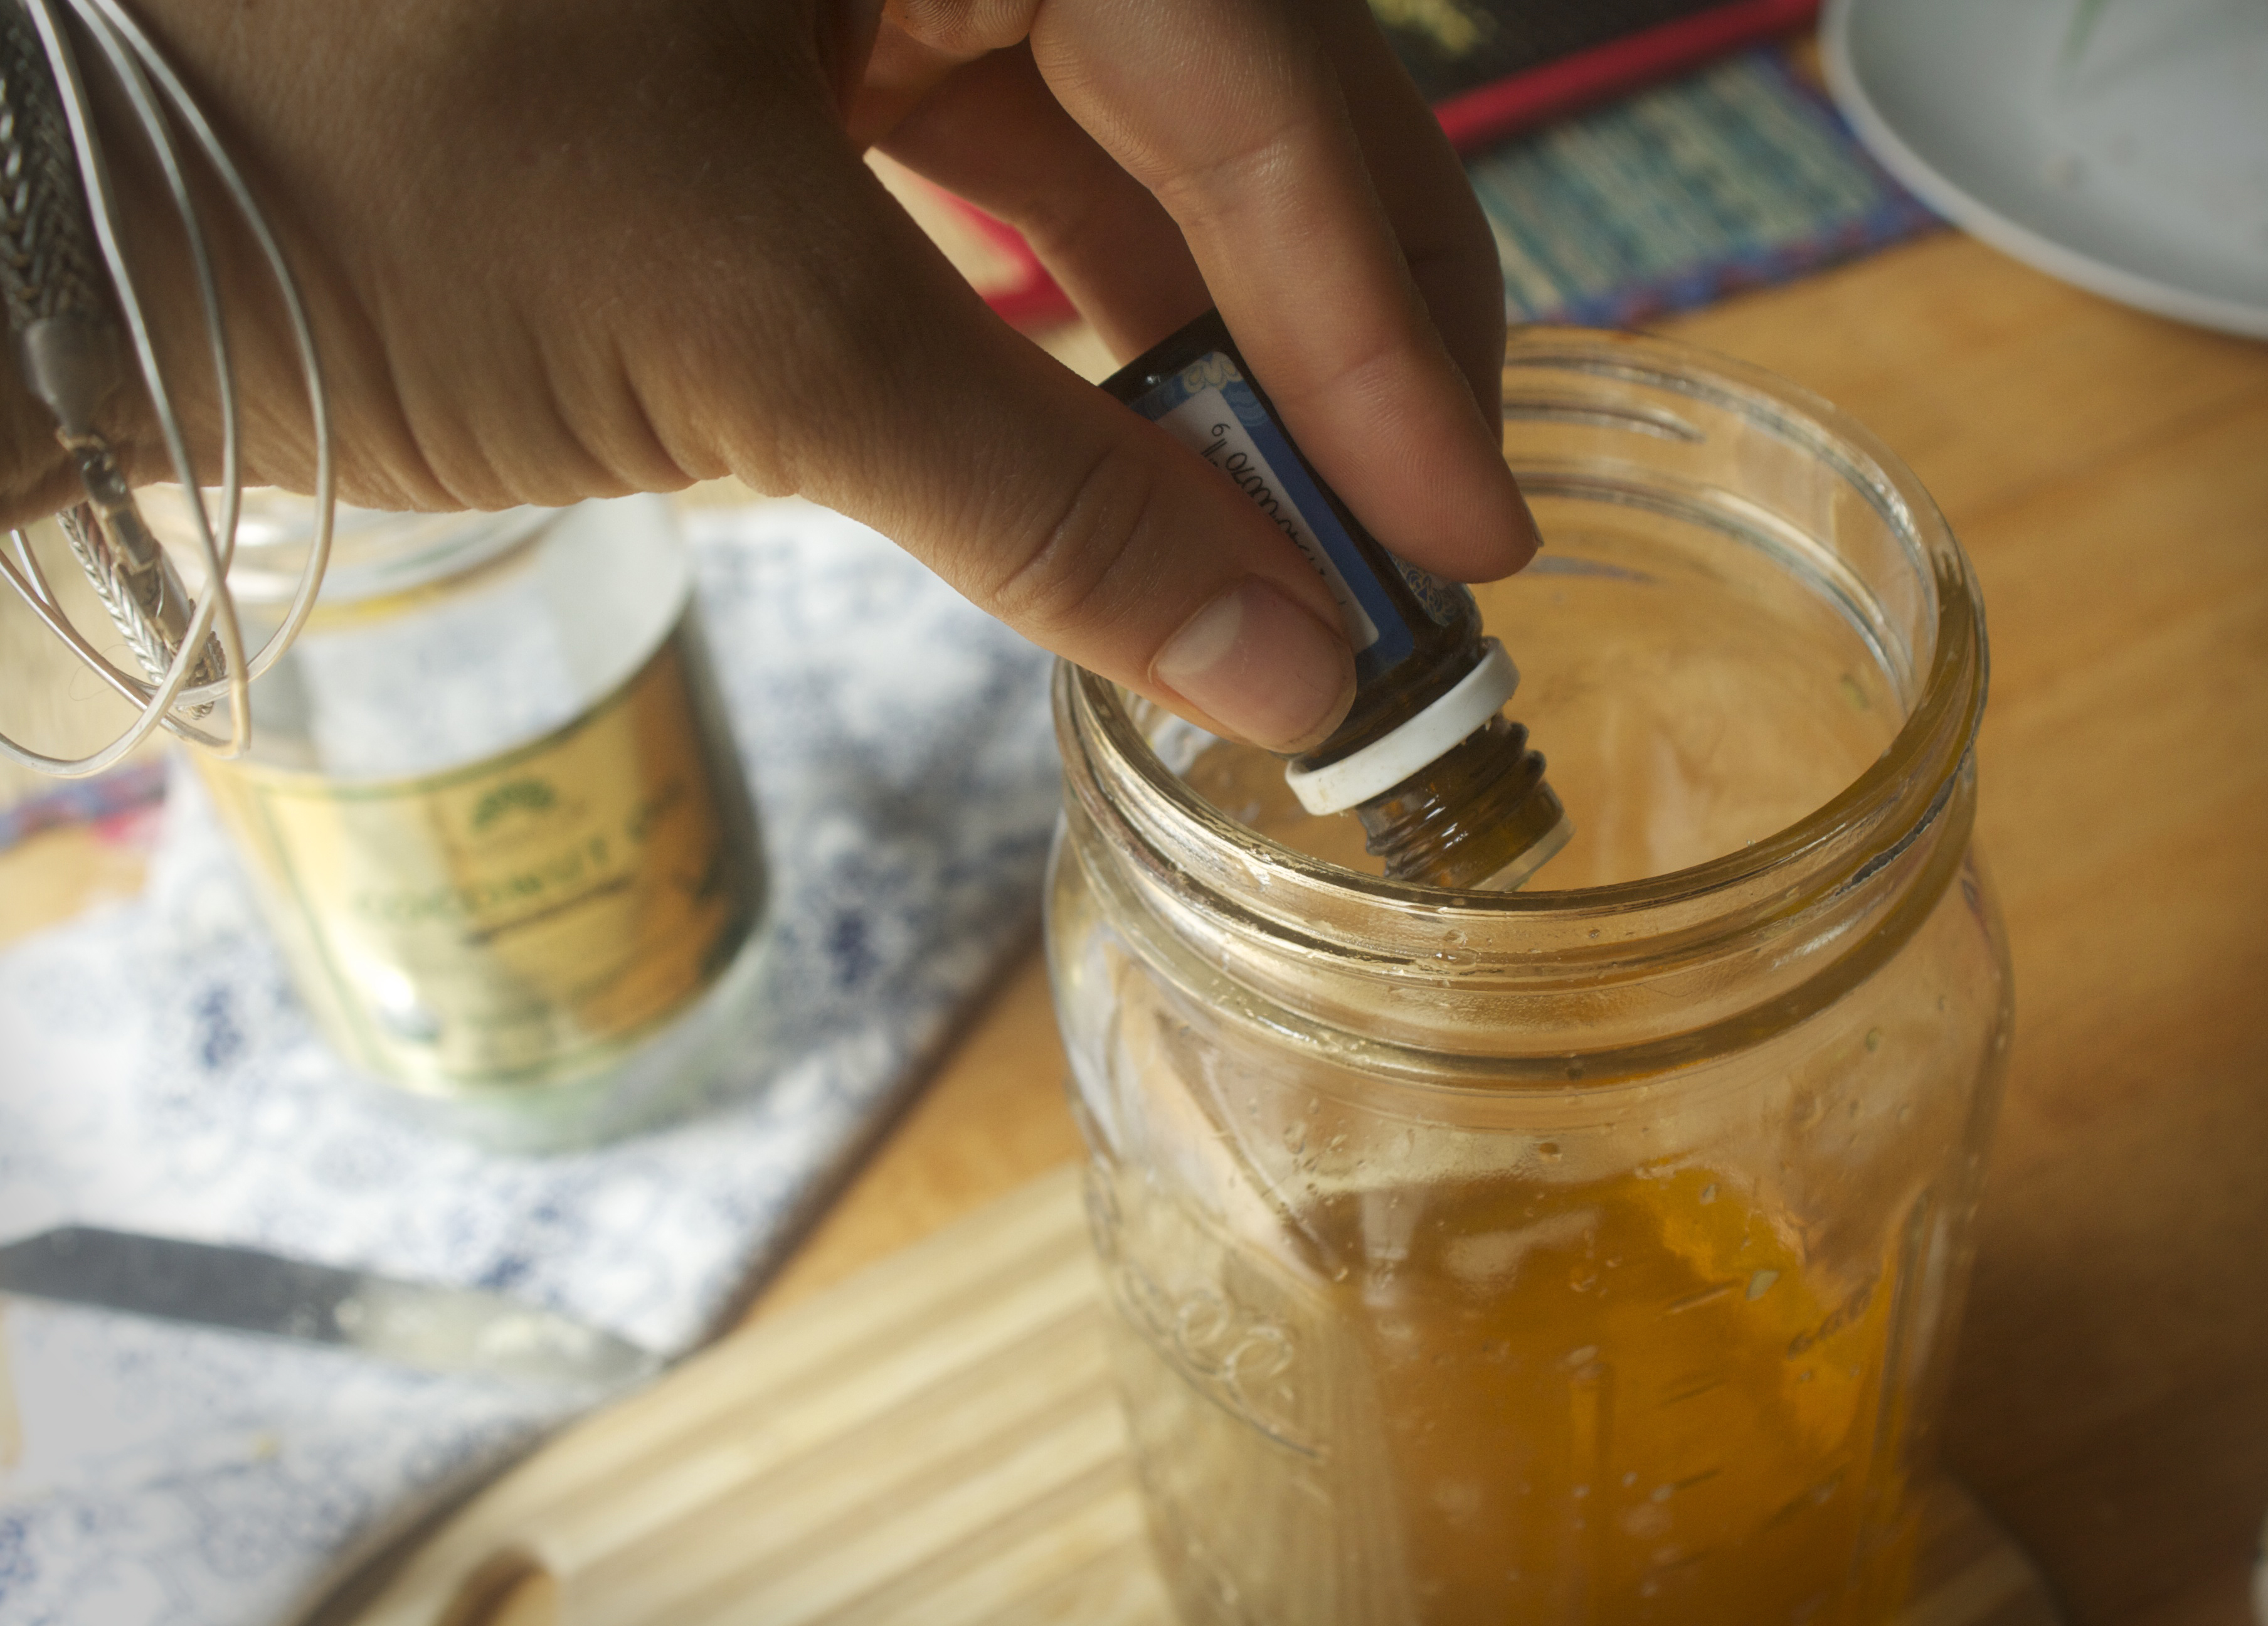
Continue to warm, stirring gently or carefully shaking the jar every 1-2 minutes to encourage the ingredients to melt. When you have a smooth, golden liquid, remove from heat. At this point you can add your essential oils or vitamin E as the mixture begins to cool, mixing carefully to combine.
Pour into a mold of your choice. You can likely find a variety of themed molds at your local grocery or craft store or simply pour mix into the bottom of a parchment paper-lined baking pan.
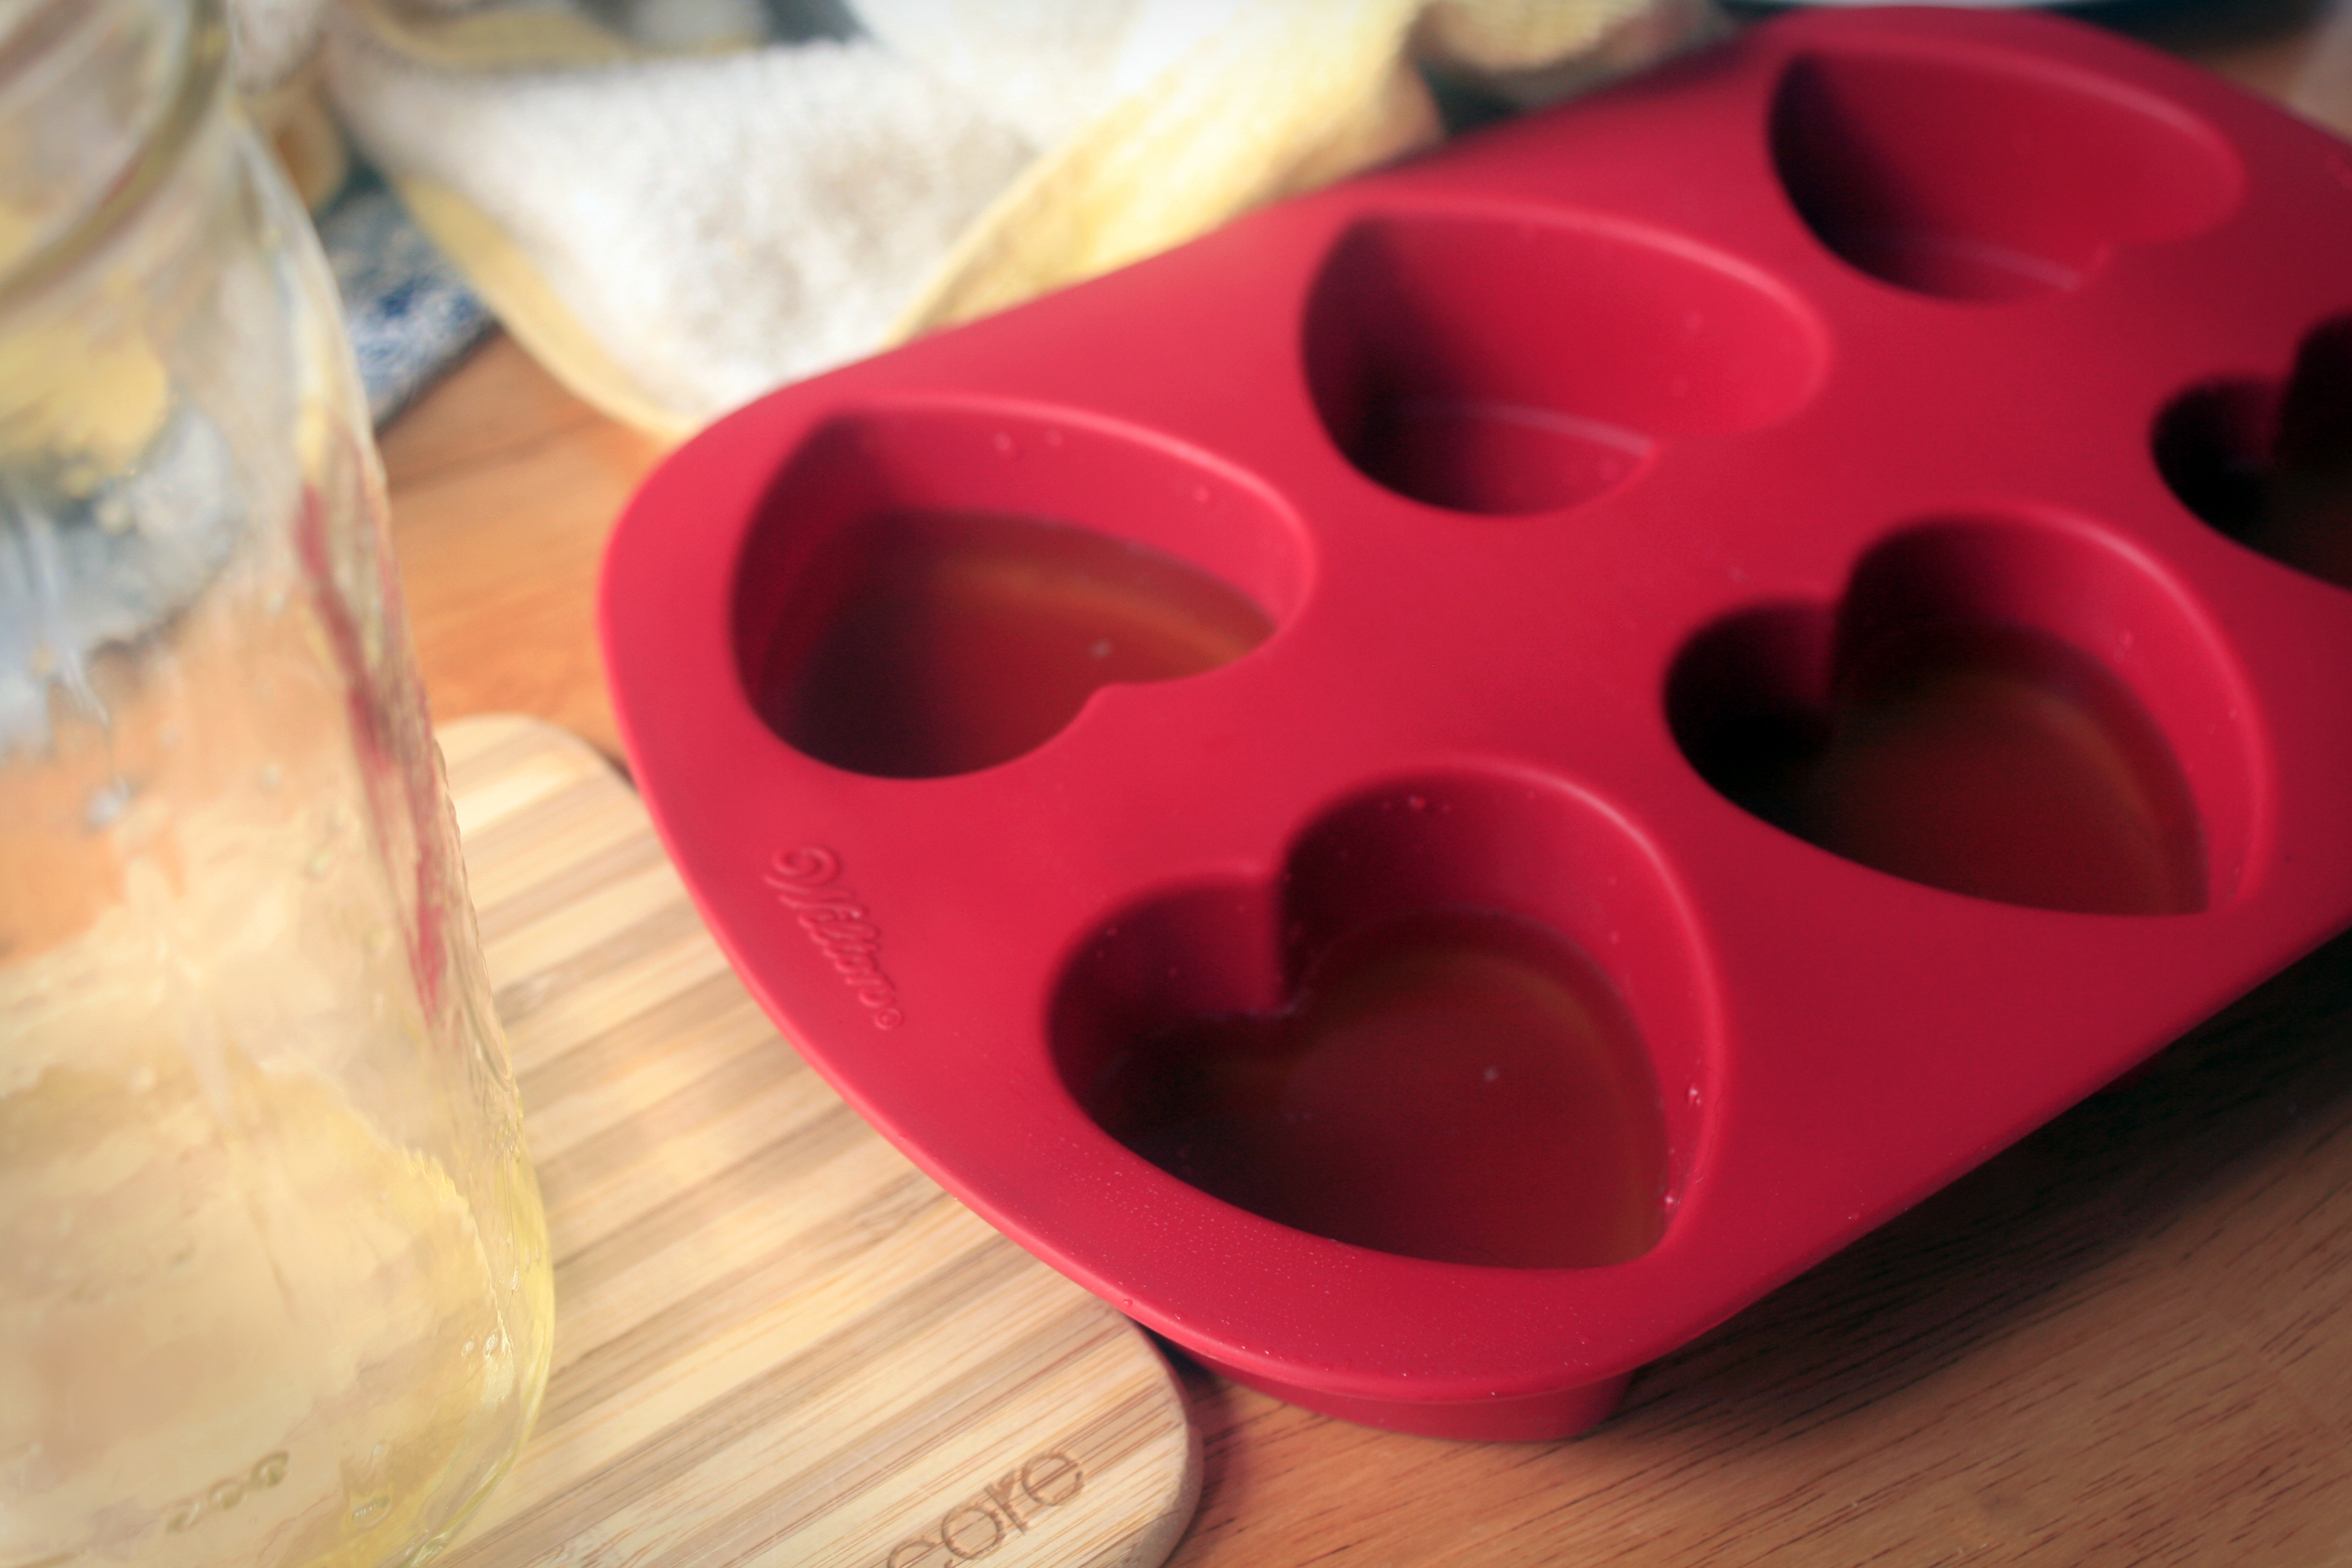
Once the lotion has cooled and hardened completely, gently pop out of the molds or cut into bars if you used a square pan. The bars should stay solid at room temperature, but will melt slighlty when applied to the skin and absorb quite easily. If the bars are too melty, try adding more beeswax next time, and store this batch in the refrigerator for greatest ease of use. All ingredients are very shelf stable so they should last for several months without issue. Enjoy!
