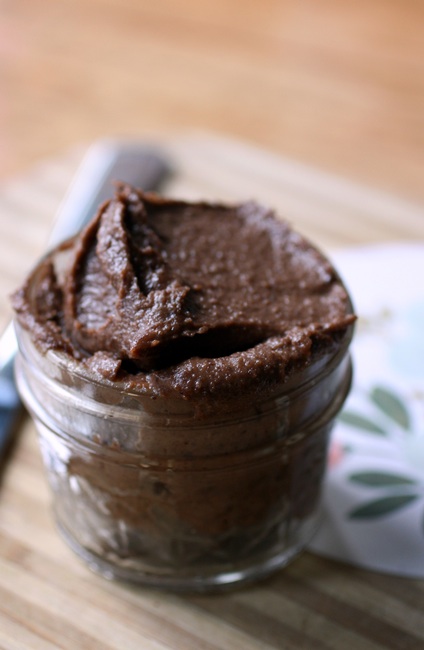
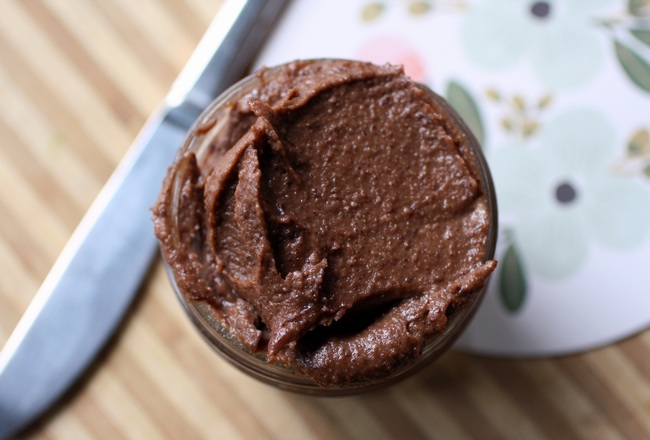
For many people, chocolate hazelnut spread (popularized as ever-delicious Nutella) brings back gleeful childhood memories. I remember the very first time I tried the stuff- slathered messily over slabs of banana. I ate it right up and licked my fingers in approval. In college, the local cafe I frequented served up hip toasted Nutella sandwiches to ravenous and highly-caffeinated studiers all the time. The rich, creamy spread tasted so captivatingly delicious and frighteningly addictive, I often felt like it should have been forbidden. And to be honest, with a whopping 21 grams of sugar per serving and some questionably sourced added fats, maybe it should have been. I mean, does anyone ever eat just one serving? This homemade hazelnut spread is just as chocolate-y and sumptuous, but with a more satisfying and nutrient-dense spin.

When I first scoured the internet in search of a DIY chocolate hazelnut spread I could create in my own kitchen, I noticed that a lot of the options I scrolled through were using two "no-no" ingredients: cheap vegetable oil and refined sugar. In my opinion, when I plan to make the effort to mix, blend and wash dishes, I at least want my final product to be healthy, hearty, full-fat and delicious. I didn't see how either of these ingredients were going to help out my cause. That's when I thought to try my own recipe using the nut butter recipe from Nourishing Traditions as inspiration.

I can tell you that coming up with this recipe wasn't easy. I had several interesting clumpy blender disasters that looked nothing like the dreamy spread I was trying to make. There were several times that I wanted to give up and write a post about how difficult it is to make chocolate hazelnut butter instead. Finally, however my experimentation led me to this unique blend of soaked nuts, natural sweeteners and a dash of cream. I can't say that this version is exactly the same as the original Nutella spread-- because it's not. But in my opinion it is more authentic to the flavors of the actual ingredients. Hazelnuts are naturally sweet and earthy, and combine very well with the gritty goodness of cocoa. Blended with a touch of coconut oil, cream and honey for an extra-smooth texture, the butter comes together beautifully.

By sticking to traditional preparation techniques, this spread also highlights the nutritional prowess of its ingredients. For example, I offer instructions on how to first peel and soak the hazelnuts to minimize enzyme inhibitors. This allows the folate, manganese, and copper that they offer to become more bioavailable. And did you know that cocoa is one of the most nutrient dense plant foods? It also happens to be one of the better food sources of magnesium we have today. Add all of this to a stabilizing base of medium chain fatty acids from the coconut oil and cream, and you've got a truly yummy nutrient dense food.
Chocolate Hazelnut Butter
By Kayla- Radiant Life
Ingredients
1 cup hazelnuts, soaked & dried or storebought
2 tablespoons virgin coconut oil
1/3 cup cream or coconut milk
2 tablespoons raw honey
2-3 tablespoons cocoa powder
1/2 tsp vanilla extract (optional)
Instructions
To prepare hazelnuts:
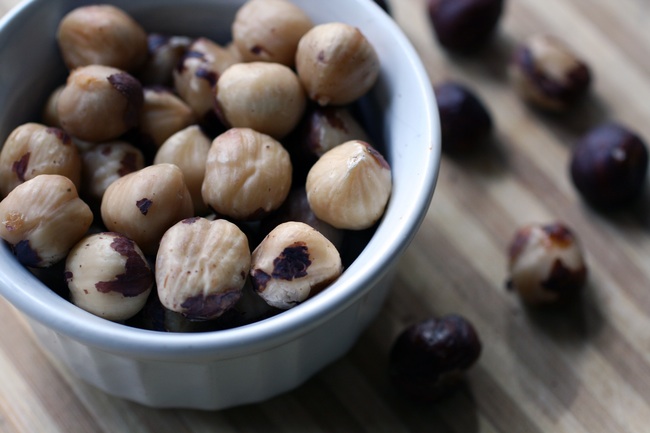
1) Peel. Preheat oven to 300° F. Place hazelnuts on a cookie sheet in a single layer and bake until skins begin to darken and bubble off (about 12-15 minutes or so). Pour nuts into a kitchen towel and wrap into a bundle. With the towel between your hands, begin to rub nuts together vigorously. After several minutes, open towel- most of the shells should be removed.
2) Soak. In a large bowl, cover peeled nuts with filtered water. Add 1/2-1 tablespoon unrefined salt, and stir to combine. Allow to sit, covered for 7 hours or overnight.
3) Dehydrate. Rinse hazelnuts and spread them out on a cookie sheet. Place in an oven set to about 150°F. Toast lightly for several hours (no more than 12), until nuts are dry and crispy.
*I like to make large batches of these crispy nuts and keep them on hand so that I don't have to go through this everytime I make nut butter! I've written a post all about soaking nuts and seeds if you are new to the process. Remember, if this looks intimidating, Better than Roasted Nuts also offers a nicely pre-soaked version that can be a great time saver. Now onto the actual recipe...
To make nut butter:
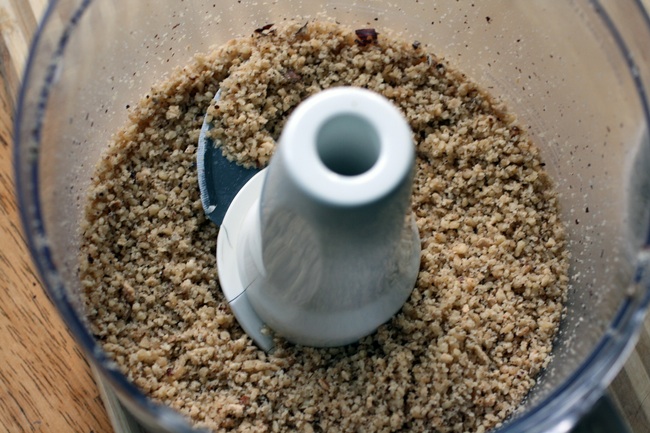
Place hazelnuts in a food processor and grind until a paste-like texture is reached. This may take 5 minutes or so depending on the strength of your kitchen equipment. Add remaining ingredients and blend until desired smoothness and creaminess is achieved.

